How to DIY a Cute Christmas Gift Box with The Die Cutting Machine?
2022-11-10
Christmas is just around the corner, and you know what that means- time to start thinking about gifts! If you're looking for a unique and personal gift that won't break the bank, why not try your hand at making a cute Christmas gift box with a die cutting machine?

Step-by-step Guide
Time: 20 min

Step 1
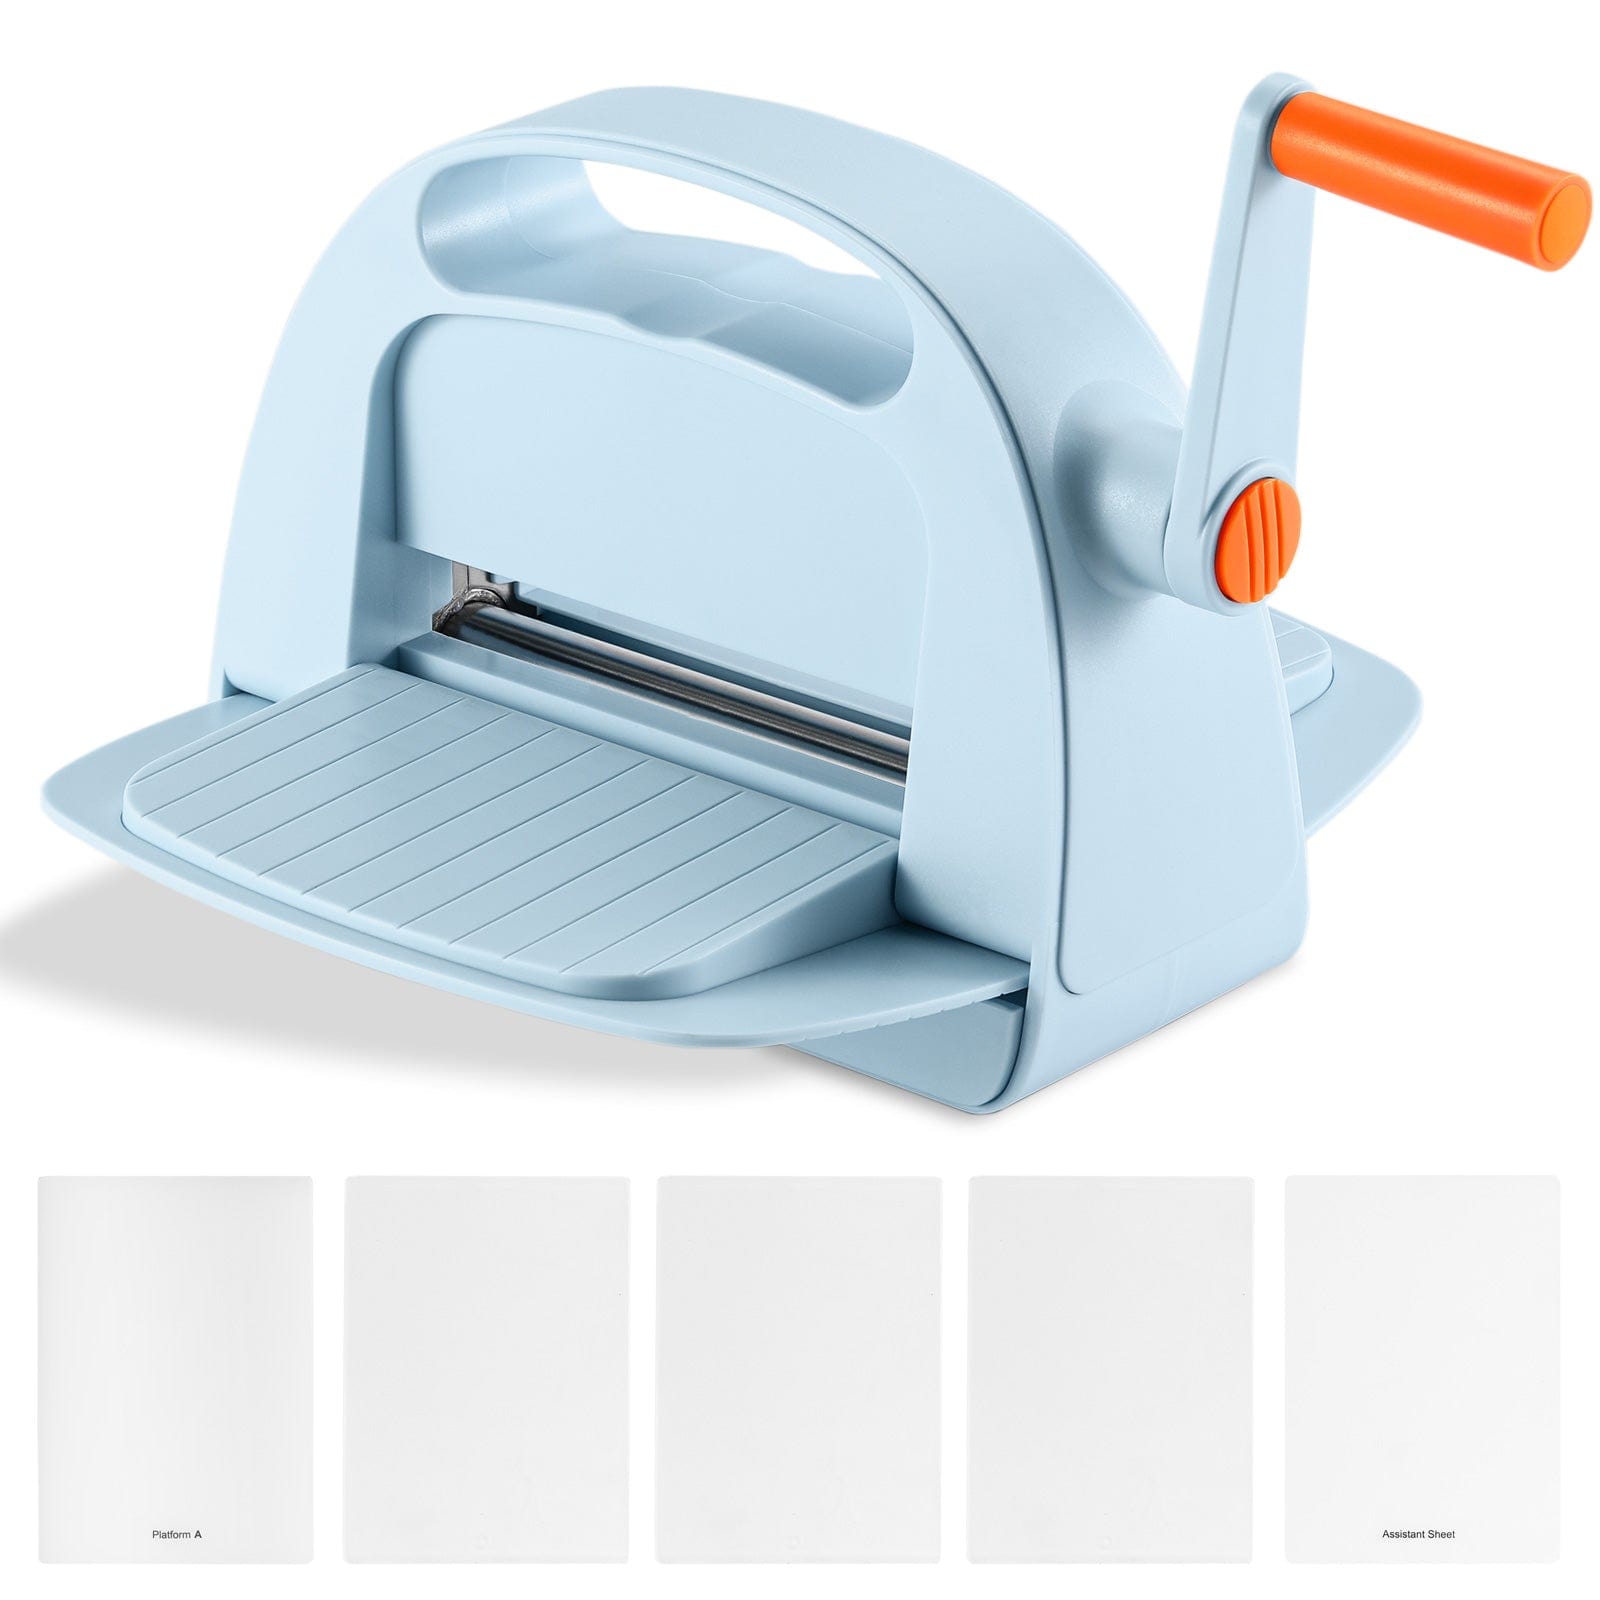
Prepare a die cut machine, some Christmas themed decor die cuts that you love, and a Christmas gift box die cut. A scissor, double-sided adhesive tape or liquid glue, and some cardstock.

Step 2
Place the cutting mat, cardstock and die cut in right order: cutting mat A → assistant sheet → cutting mat B → cardstock (80-250g) → die cuts facing down → cutting mat C.

Step 3
Insert the cutting mats and the materials into the machine, and run them through the machine manually.

Step 4
Fold the cardstock along the dotted line (P.S. you need two of this to form a whole gift box), adhere the edges together.

Step 5
Adhere the rest of decor onto the box in any way you like. You can use liquid glue, double-sided tape, or even just regular tape.

Step 6
Put your gift into the box. You can place a layer of raffia at the bottom of the box.

Step 7
Thread some decorative ribbon or twine through the holes on top of the box and tie it in a bow. Done!