How to DIY a Pair of Can Cooler Sleeves in a Spooky Style?
2022-09-25
The Halloween party will be a hit with soda, beer and lots of soft drink. You don't want this once-in-a year party to be a dud, do you? In this blog, we are going to DIY a pair of can cooler sleeves in just a few easy ways. We hope you can get inspired and share your great works with us.
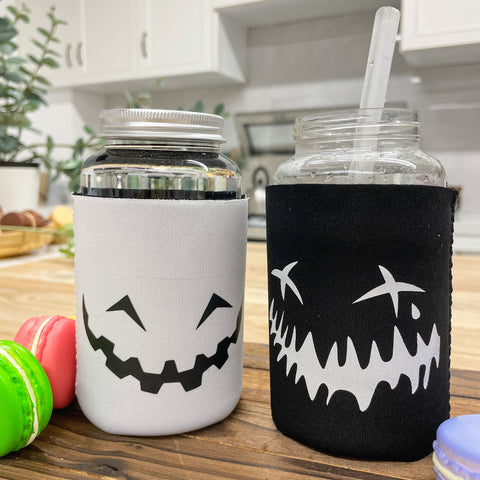
Step-by-step Guide
Time: 15 min
Step 1
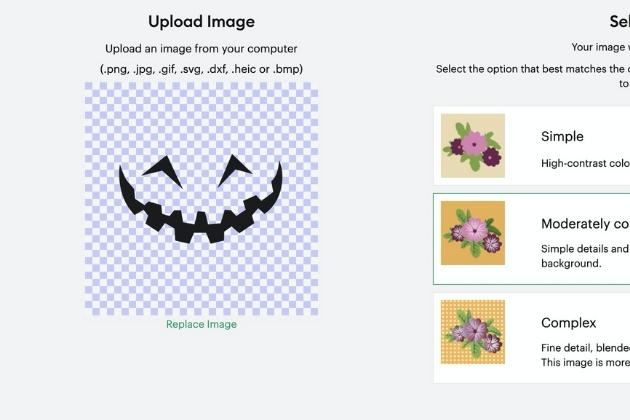
Choose a spooky smile design (you can find FREE graphic design on Canva), upload it to Cricut design space.
Step 2
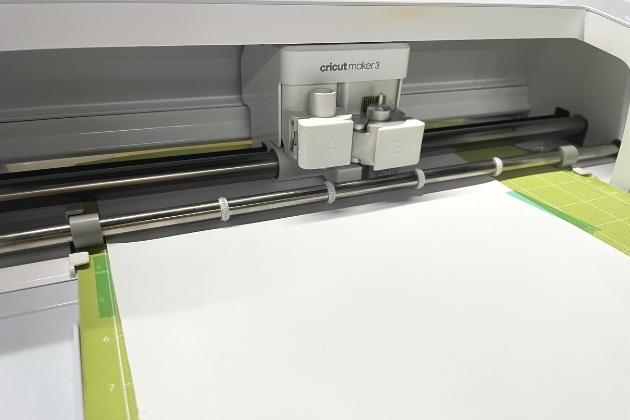
Cut out the design using Cricut maker3 (Recommended settings: Smart Iron-on default). We use smart iron-on htv.

Step 3
Weed the extra vinyl of the design carefully.
Step 4
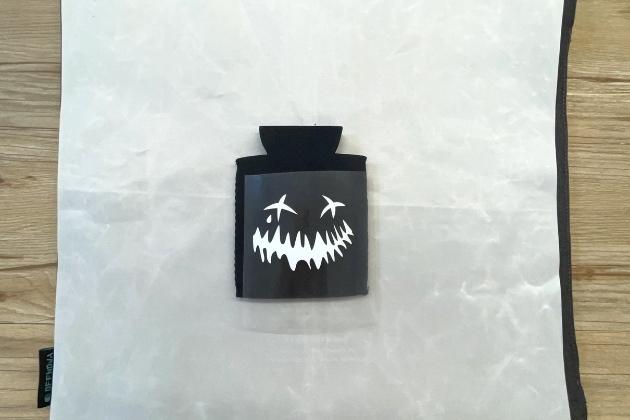
Place the design right in the middle of the sleeve.
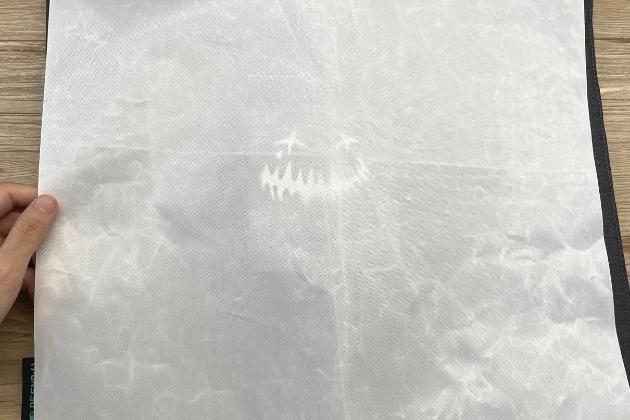
Step 5
We suggest you use the Teflon paper to protect the design and the machine.
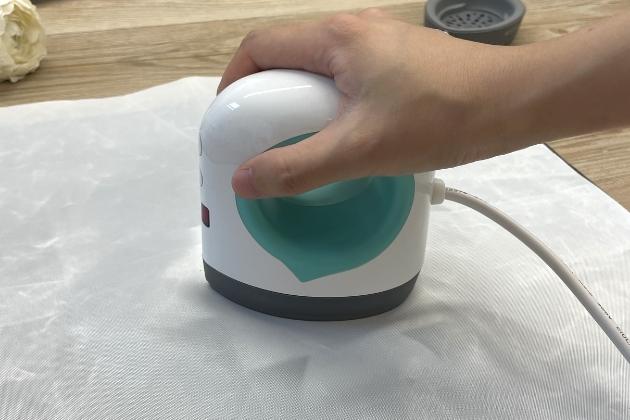
Step 6
Use OFFNOVA mini heat press or 9”x9” heat press machine to apply press and heat on the project. (Recommended temperature: 315℉; time: 30s)
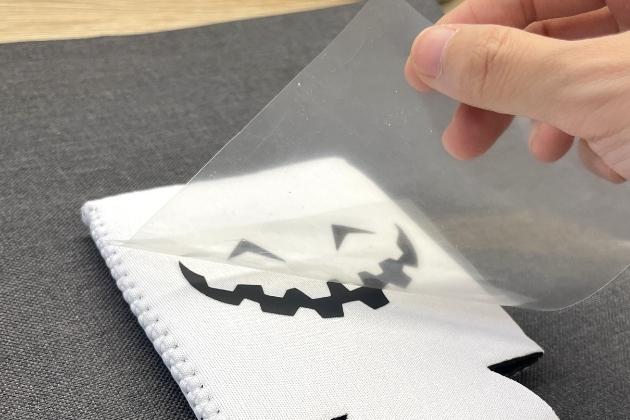
Step 7
Peel off the film then you will see the perfect heat transfer result!


